Using hMailServer as an SMTP Server
Prerequisites
To use hMailServer as the SMTP Server, make sure you have installed hMailServer.
What You Need to Do
Once you have hMailServer installed, carry out the following steps to set up the SMTP:
- Create a domain for the SMTP server.
- Configure the SMTP.
- Configure email server parameters in Bizagi.
Procedure
Follow the steps described below.
1. Create a Domain for the SMTP Server
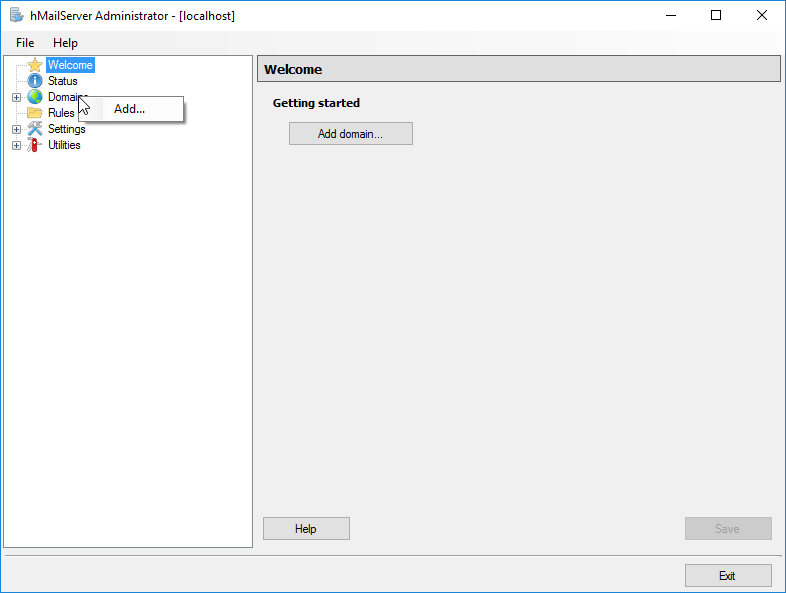
Access hMailServer as the administrator, right-click the domains node, and create a new domain. Create an account in your server.
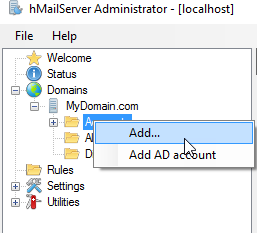
Add an account:
2. Configure the SMTP
Open the Settings node, then Protocols, and select the SMTP node. On the right-hand side, select the Delivery of e-mail tab and give a Local host name:
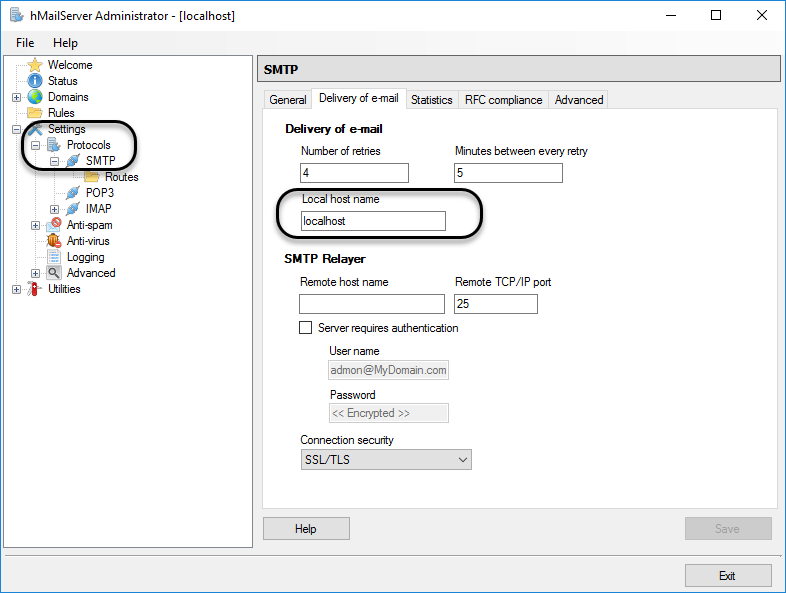
Make sure that the Remote host name is empty.
2.1 Set the IP Range with No Authentication
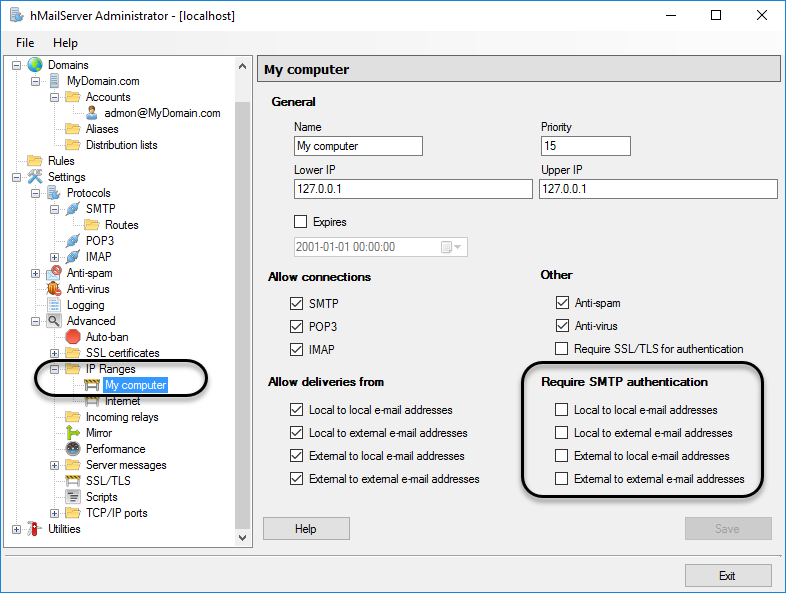
If you do not need to authenticate users accessing the SMTP server, open the Advanced node, then the IP Ranges folder, and click My Computer, which is an IP range created by default by hMailServer. Make sure that Require SMTP authentication checks are not selected:
3. Configure the Email Server Parameters in Bizagi
Once the SMTP is set up, configure the environment parameters for your Bizagi project.
In the production or testing environments, you may do this through the Bizagi Management Console as provided by Automation Server. Reference the local server (localhost) as the SMTP server.
For this part, provide information for the Email configuration section.
Check the Enable mail checkbox and specify a sender account that uses the expected domain:

Click OK to save changes and make sure you perform an IISReset on your IIS.